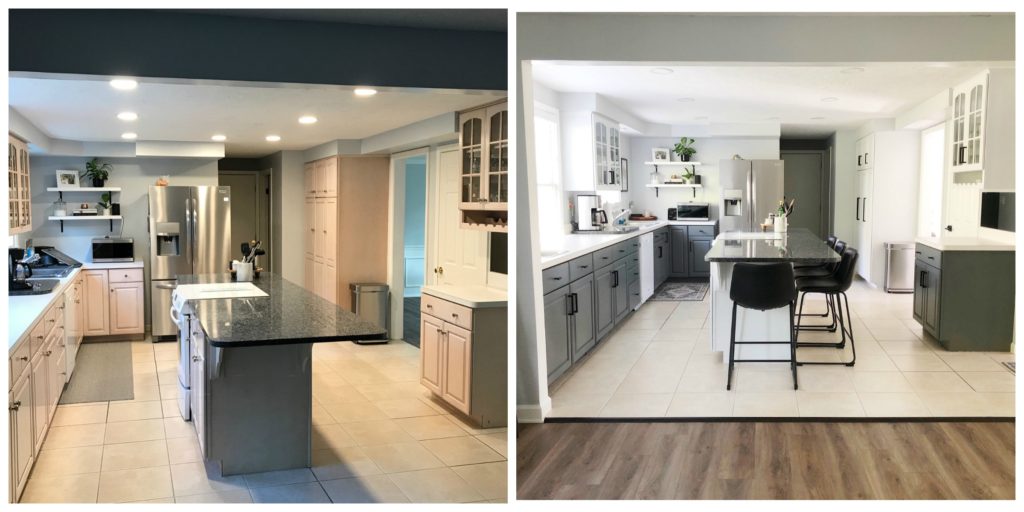
This project is sponsored by Giani Granite. The paint used for this project was gifted. Thank you for supporting the brands that The Thome Home loves so much!
Kitchen makeovers are expensive! With Nuvo Cabinet Paint you can transform your kitchen cabinets for under $200!
It’s true! A little elbow grease and Nuvo Cabinet Paint, you too can makeover your kitchen cabinets giving your kitchen the transformation it deserves for under $200! We all know that the kitchen is the heart of the home, and there is nothing worse than when you are just truly unhappy with the esthetic of the space.
When my brother and sister-in-law purchased their home this past spring, they were well aware that the kitchen was not a project they would be able to financially take on right away. Buying a home, and doing all the initial improvements is a financial commitment right off the bat. I knew though, deep down just how unhappy they were with their peachy-keen kitchen. Every piece of decor they added to the home never looked “just right” as it sat in front of that James and the Giant Peach backdrop.
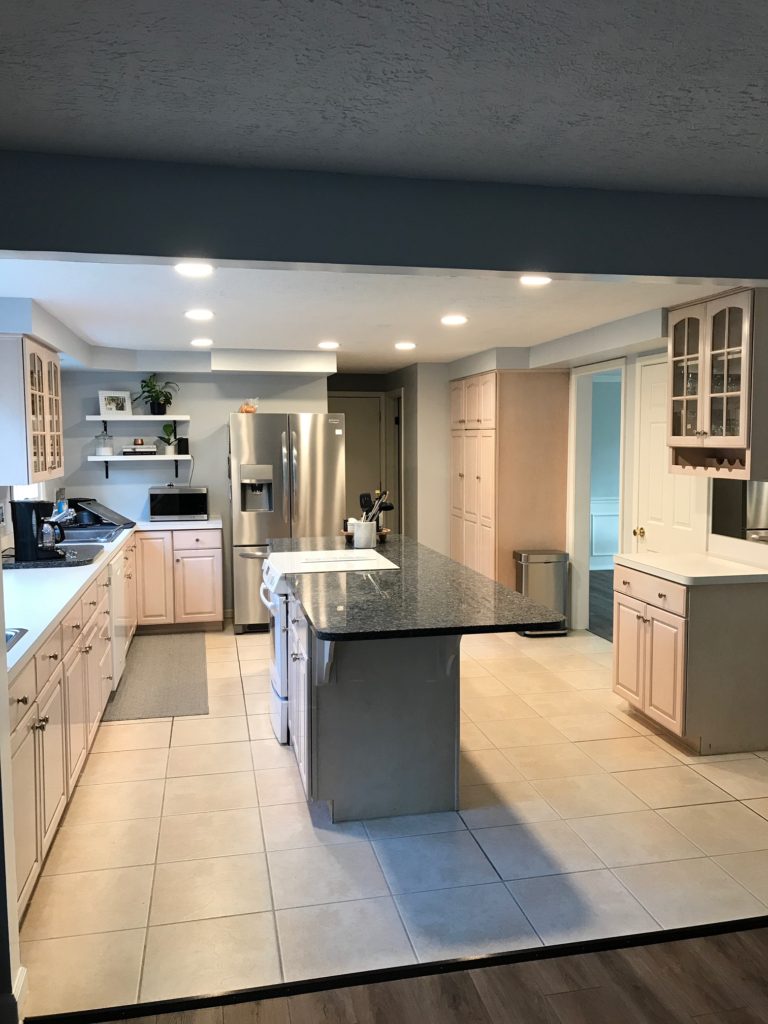
I asked them about their thoughts on me painting their kitchen cabinets with Nuvo Cabinet Paint.
To not only transform their kitchen beautifully, but to buy them time until years from now when they are ready to tackle a kitchen renovation. They had a few questions that I was happy to answer, as we have lived with our Nuvo Cabinets for nearly 3 years –
- Whats the wear and tear like? Will the paint actually hold up to the day-to-day chaos in the kitchen? Believe it or not, YES! If your cabinets are properly stripped + primed, you will be so impressed to see how durable this paint is. I use disinfecting wipes and sprays on them weekly!
- What do you do when a piece chips away? Well, simply enough, take a piece of sanding paper with a light grit and go over the area that has chipped. Then take the paint, and give it a few good coats to cover up the spot!
- Do we have to sand?? Surprisingly, NO! Nuvo Cabinet Paint does recommend a light sanding. However, with a great deglosser and 2-3 coats of primer you are ready to go without the mess of sanding!
They said YES!
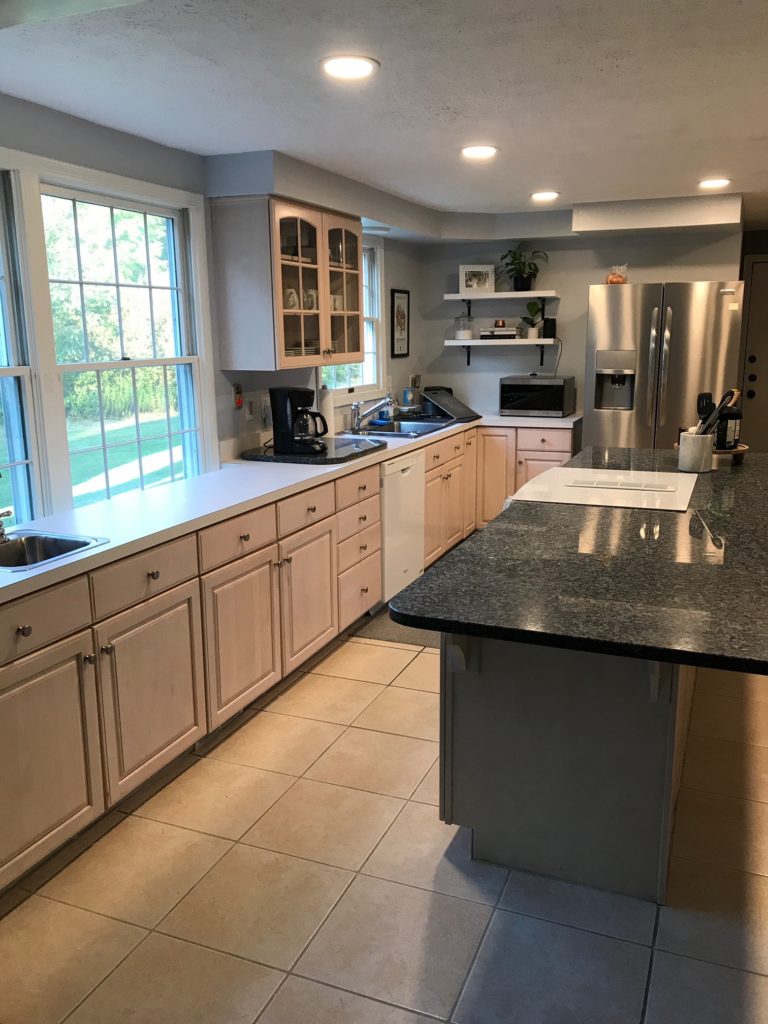
The second they agreed (and were really excited!) I was over the moon to jump start this project! We headed to Giani Granite site to admire all of the colors they had to offer in their Nuvo Cabinet Paint line. Their kitchen has a ton of natural light, so we knew right away we wanted to add a little bit of depth with color to add contrast to not only the ample light, but to compliment their beige tile.
Picking the right colors…
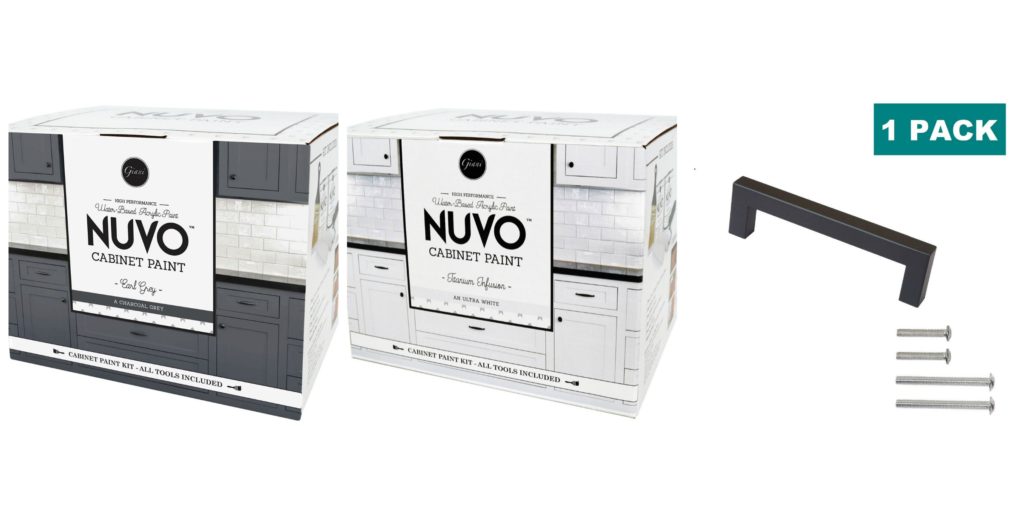
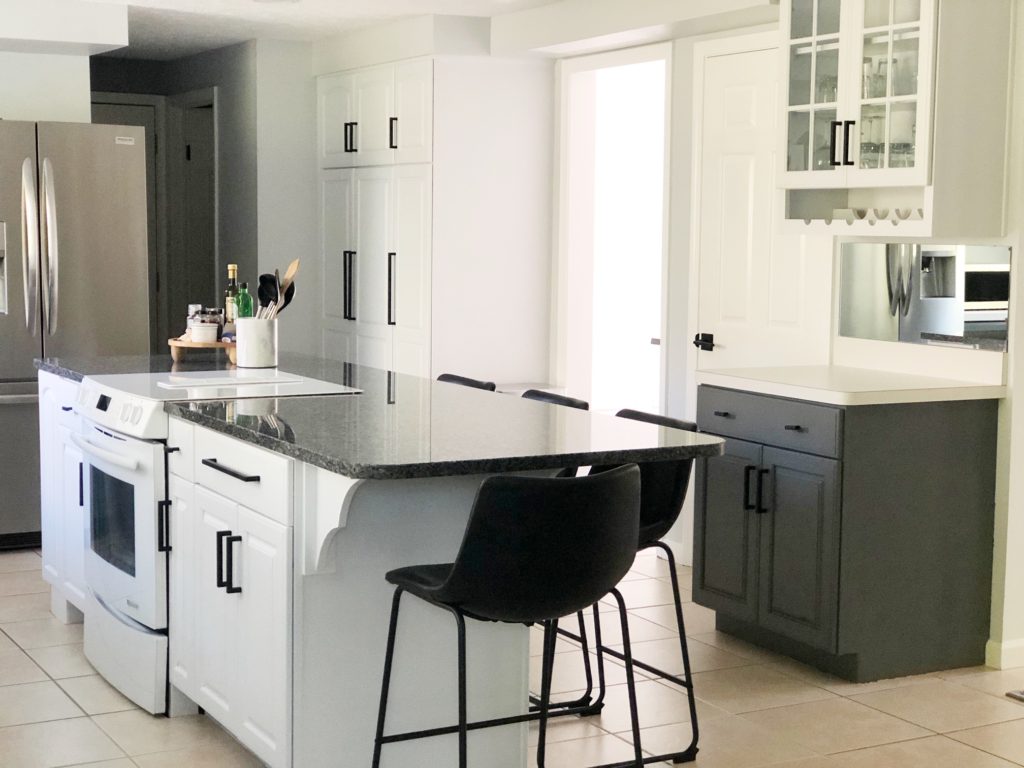
Earl Grey and Titanium Infusion were the winners! The homeowners have beautiful taste in home decor, and I knew they would appreciate a modern and clean look in their kitchen. A crisp white cabinet up against a rich grey was the perfect combination to erase the peach and bring in their style! They also chose new hardware, as the previous knobs were silver and did not fit the vibe they were going for. Shopping for hardware on Amazon proved to be such a success and kept the cost down! These are the pulls we chose, in a variety of sizes to compliment different cabinets.
Let’s discuss the step-by-step process to painting your kitchen cabinets!
- Remove ALL cabinet drawers and fronts, you can keep the hinges on!
- Take off ALL hardware, regardless if you are replacing them or not. Place hardware and screws in a ziplock bag.
- Put all drawers and cabinet fronts in a separate room that is covered in tarps! We utilized the garage –
- Balance all cabinet fronts on Dixie cups – this makes it extremely simple to keep them off of the ground and easy to catch drips!
- Use a deglosser, I used on all cabinet bases, fronts and drawers. Apply a tablespoon or so to the rag, and rub down the cabinets in a circular motion. It takes a tablespoon or two for each front and back of the cabinets. I did this process twice to ensure I removed all grime from the cabinets.
- TAPE EVERYTHING OFF! Whether it be walls that meet the side of the cabinetry, appliances that are close to where you are painting, flooring at the base of cabinets, or the interior of the cabinets that you are not painting. Make sure you tape off properly, which will make painting a breeze when you are not worried about getting paint in the wrong places.
- Next up! PRIME! I used Zinsser Primer. 2-3 coats on every surface. Yes, even the backs of the cabinet fronts.
- REMOVE PAINTERS TAPE Once your cabinets have been primed 2-3 times. This will make sure you do not continue to add layer after layer of paint, and then take of layers once you remove.
- Put fresh tape up! You are now ready to apply the Nuvo Cabinet Paint.
- Follow directions on the Nuvo paint can. I applied 3 coats to every surface.
- For the cabinet fronts, it is best to paint all 3 coats of the back at once – and then flip and paint the fronts. Make sure when you are painting the cabinet fronts that there is not any painting dripping down the corners. To prevent drips, use the mini paint roller provided by Nuvo and roll the outer edges after each coat. This will soak up any excess!
- Take off ALL Painters Tape, before you let the paint set overnight. Use a straight razor to cut along the side of the tape if it seems to be “stuck” from paint drying.
- Once all of your cabinets have had 3 coats of paint, and everything has set overnight to dry, you are ready to reassemble!
Ready to see the transformation?!
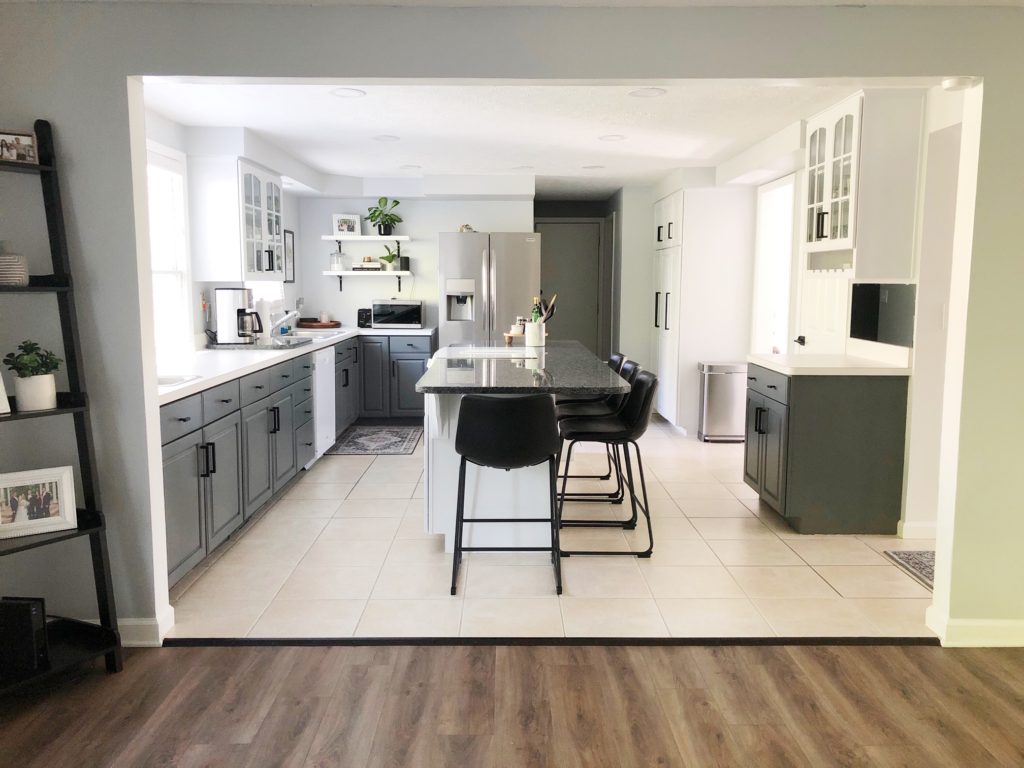
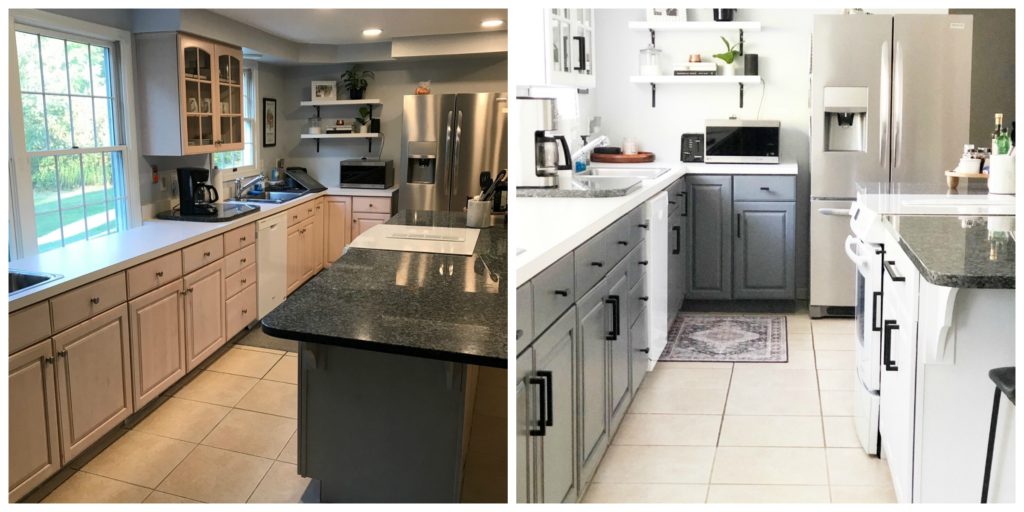
Can you even handle it?! Their kitchen instantly went from a 90’s peach epidemic to a clean and modern space that they will enjoy for years to come!
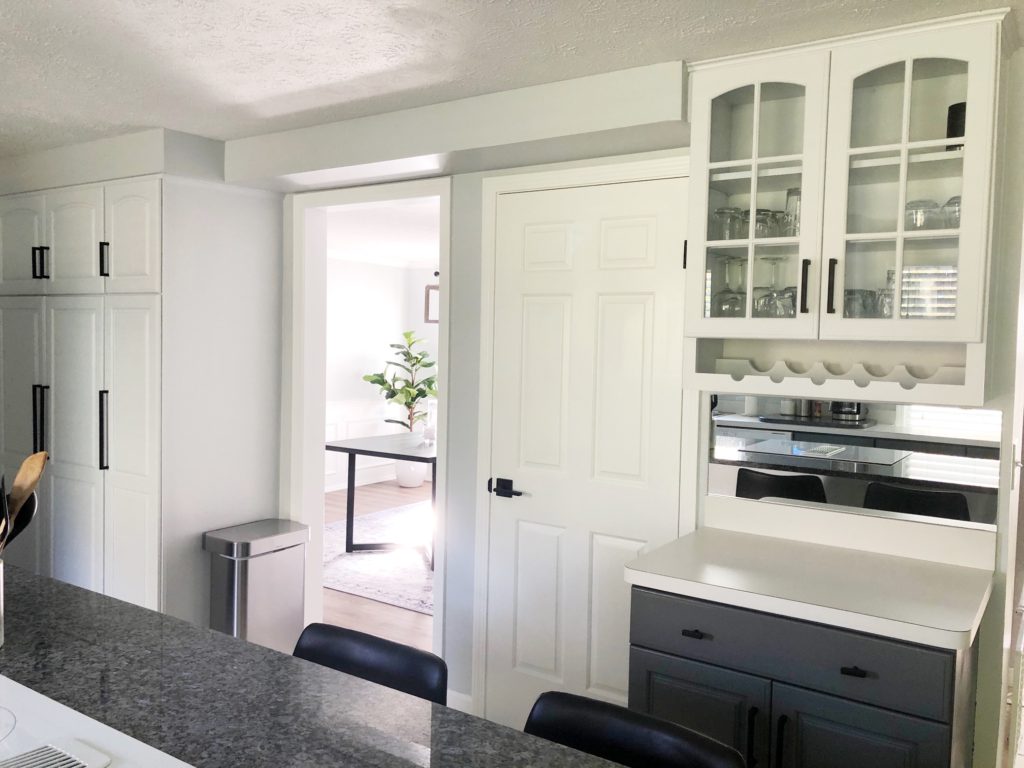
I could not wait to get my hands on their pantry! Extra long pulls and crisp white cabinetry made what once was an eye sore a beautiful addition to their kitchen!
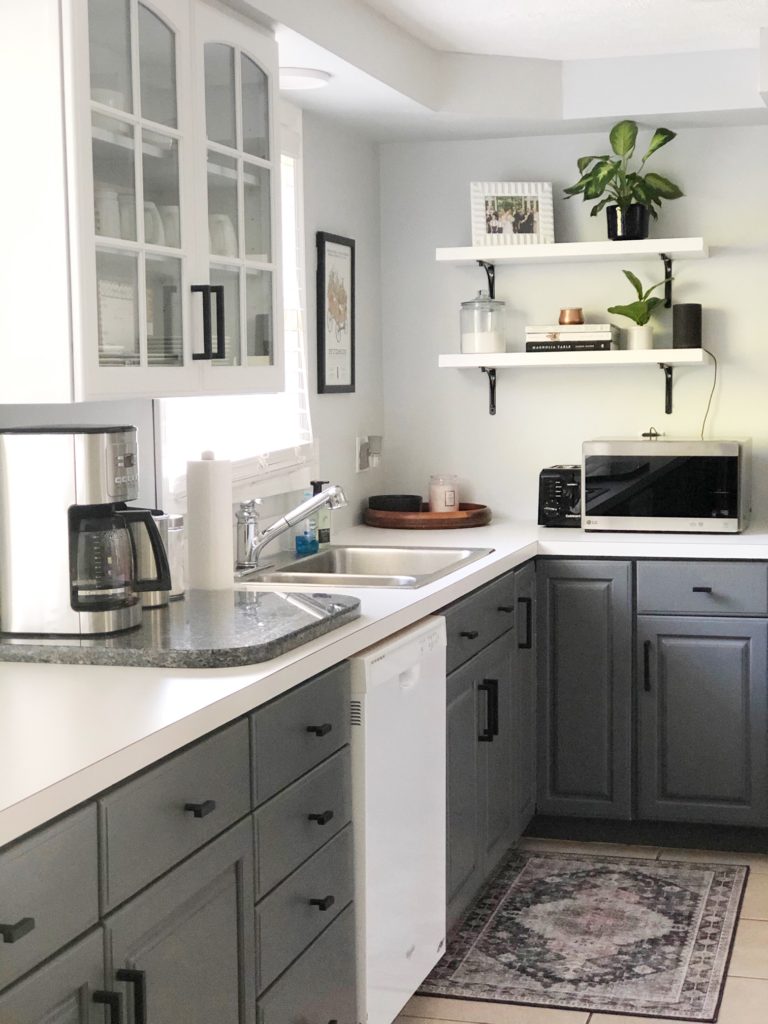
The home owners were convinced that they would have to replace the white laminate counter tops during this process. After one coat of the Earl Grey their fears diminished as they realized the contrast actually complimented the once-hated countertops.
The process is extremely simple! And yes, a bit time consuming.
This makeover took me a total of 5 days, 4 hour shifts each day. I did it all by myself, so it just goes to show – YOU can do it! It’s crazy to think that one weeks worth of work and a kitchen is completely transformed on a dime!
