[[ There are definite foot-in-mouth moments from me on this blog. Like one when your mother calls you to tell you she went to go show some friends of hers her daughters blog, telling them about the recipes and such. And the first thing that pops up …. “sex tape” from my post last week. I’m fairly certain she nearly fainted – and thought Dan and I really did make a sex tape. So sorry mom! I definitely know how to make people uncomfortable – but like to keep it real 🙂 ]]
I can’t fight this feeling any longer.
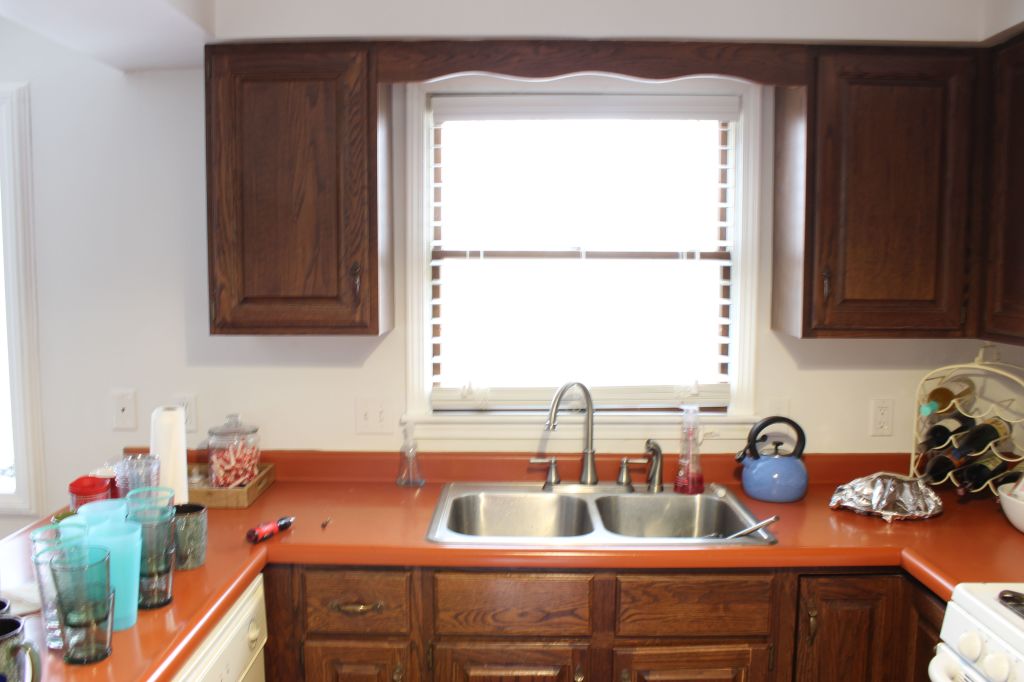
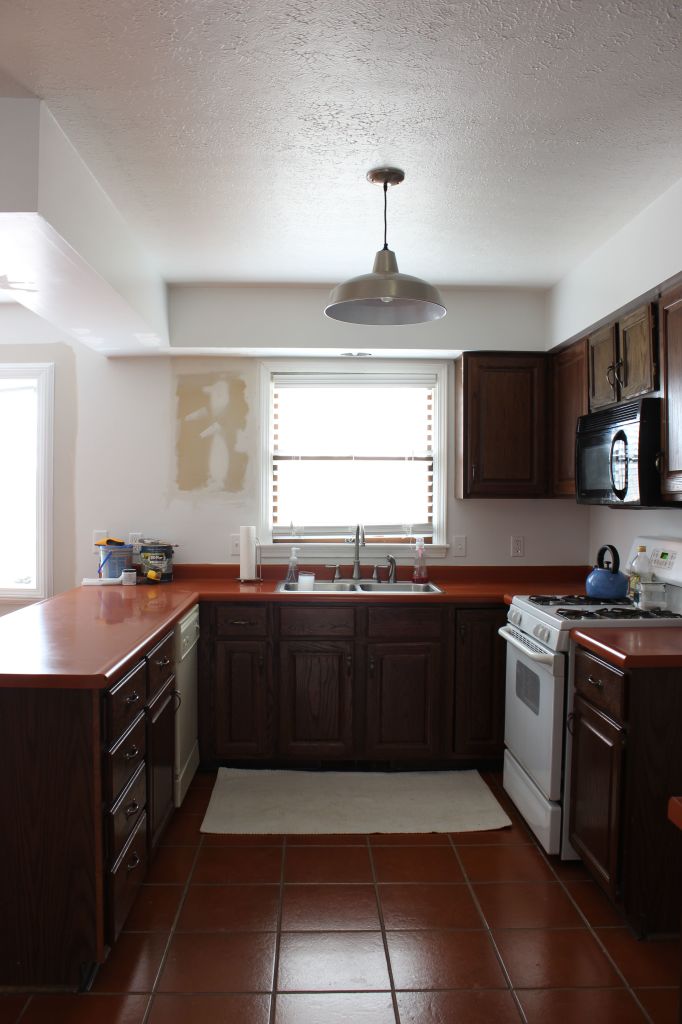
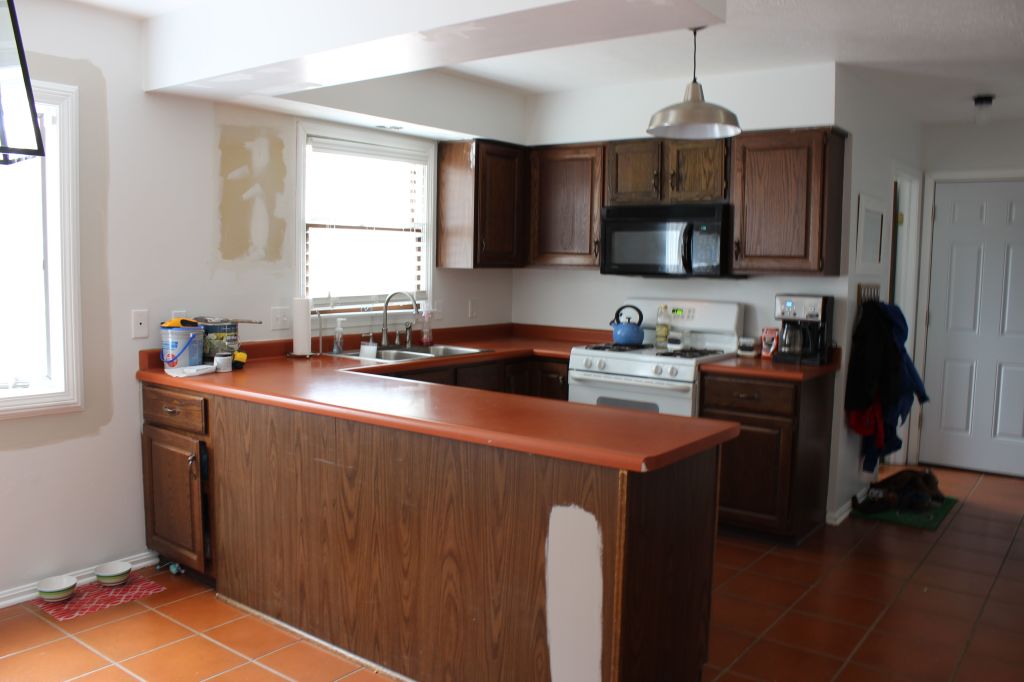
Everyday – all day, I stare at my kitchen and feel like I have been sucked into a time machine back to the 70’s and I cannot get back to 2014. The orange countertops!! While they may be fitting for this past Halloween season, they are a fright to be standing next to. The cabinets are old, and each one has their own unique grease-induced fade to them. We’re stuck with the orange tiled flooring – there is not enough cash on our money tree to take those out just yet.
I spend a TON of time in my kitchen. Like any mother – breakfast, lunch, dinner, snacks in between – and add to that a girl who likes to bake and experiment with new recipes, it’s is my most lived in room. I need a space that I WANT to cook in. A room that I do not want to whip something up and rush out of. A kitchen I want guests to hang out in and not always ask us when were renovating it next.
With that said …
We have a few things to fix – and a tight budget to do so.
paint cabinets
resurface the countertops
create custom shelving
window treatments
add decor
Those are the projects to tackle on our list before the holiday season – fingers crossed this can all happen before Thanksgiving.
For those of you who are interested in giving their kitchen an affordable facelift, this will surely be one you’ll want to be checking in on!
Our goal? A fresh new look that will hopefully last 5-7 years until we are ready to do a full-blown renovation. I think it will be the smartest decision since we are far too impatient to let the time pass – and it will be good to live here a bit longer until we know how we really want to put money into this space. Plus – let’s face it, kids wreck things. So putting in finishes that will likely be colored on, broken and banged up is just not the smartest of choices right now.
I have always loved the look of two toned cabinets. Mainly in the form of the island being a different color than the cabinetry. In our kitchen we have that “L” shaped counter space that sticks out – therefore we would have to paint the entire base of cabinets a separate color to achieve this look. Whether it be navy or taupe base cabinets, and white on top – I am always drawn to the dual look.
The cabinet to the left of the window, along with that odd scroll going across tempted me each day to tear it down when Dan was not looking.
We started to unload the cabinets to prep for the renovation – and thankfully Dan jumped right on board with ripping those two pieces out! I didn’t even have to beg or bribe, he seemed to finally realize how much losing a bit of cabinet space would open up more options for that area.
The spot to the left of the window will now be the new home for our custom shelves.
As soon as those two pieces came down I felt SO much better. I cannot explain to you how much they drove me crazy. The bulky cabinet blocked so much light, and as you can see – it is a dark kitchen already.
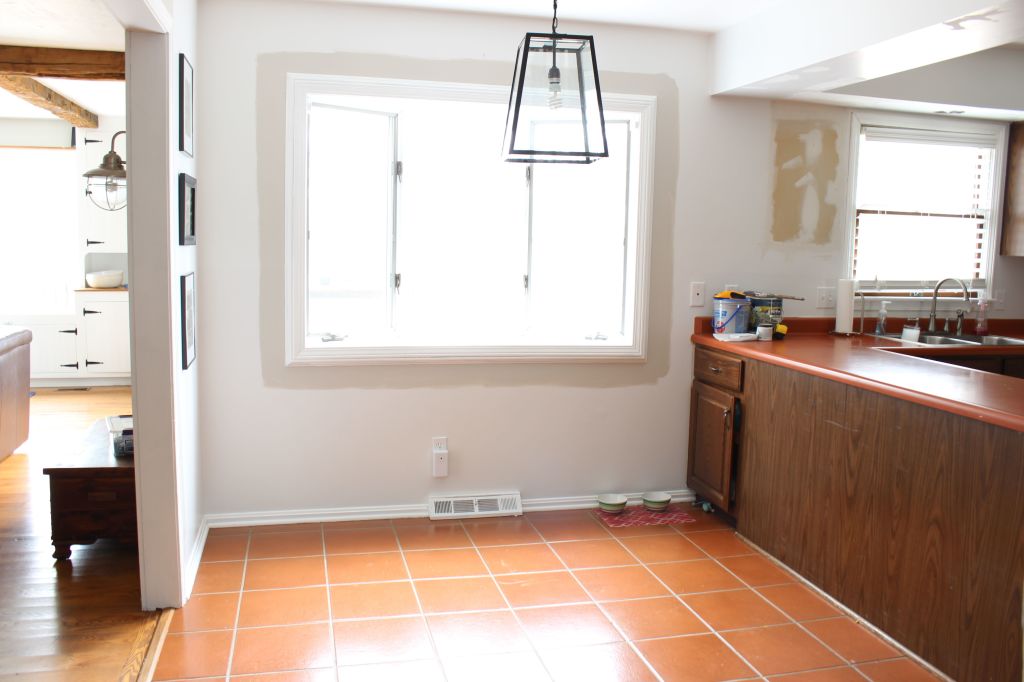
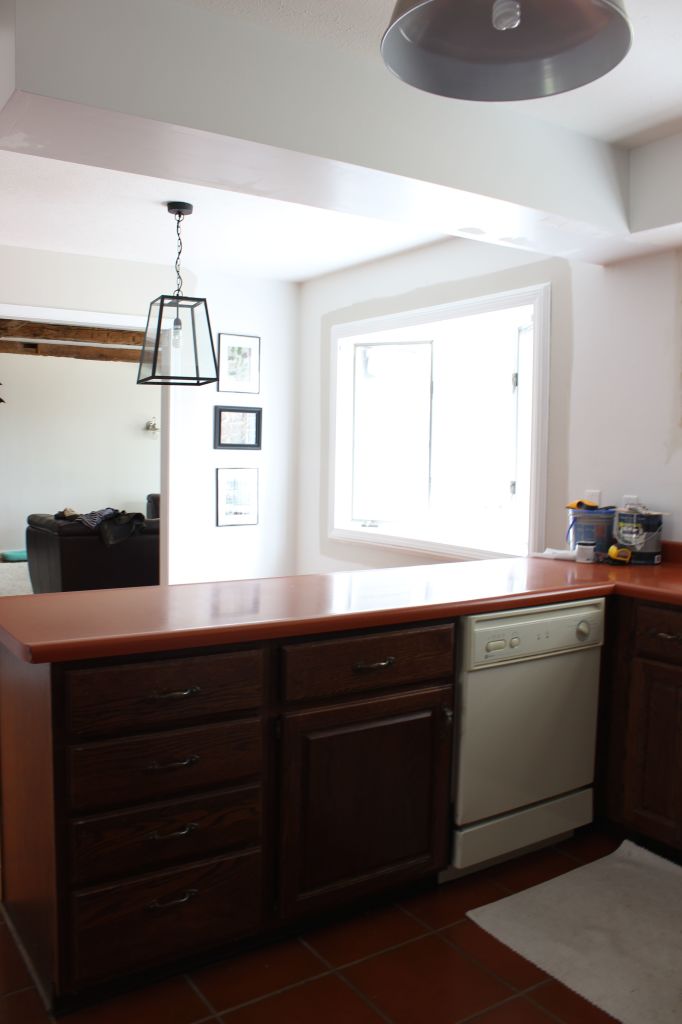
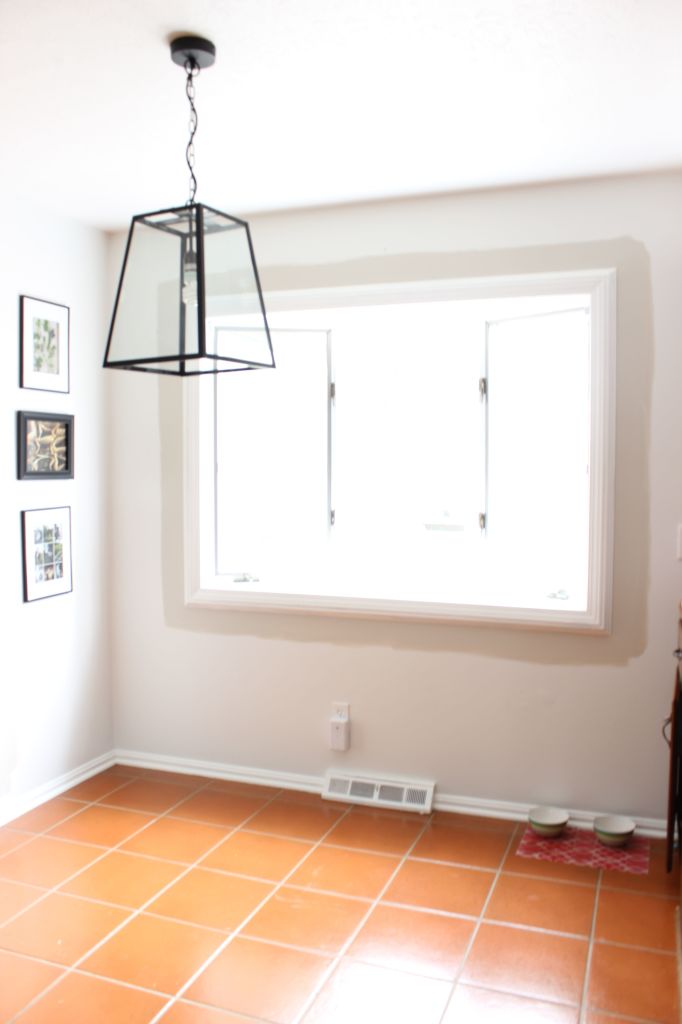
Next we have our nook – you can see how much brighter the room feels after we knock out the cabinet.
I LOVE this area – I am looking to add a fresh coat of paint to the base of our table + chairs – and add a lot more decor to the walls and window treatments [leaning towards getting new roman shades like we had in our old home]. We spend a ton of time in this space, so I want to it feel cozy!
As you can see we already tested the wall color + the base cabinet color a smidge. We really just went with our gut on the color choices – tried to not over think it. Which, I do all the time.
ANYTHING will make this space look better and more updated than it is now – so we just jumped right in!
I spent the entire weekend taking the cabinet fronts off – deglossing the surface- and painting coat after coat [4 on each surface and 4 more to go]
I have so much more painting to do – and we have an extremely exciting collaboration to share with you all in a few weeks for the BIG reveal!
Any projects you want to tackle before the holidays? Big or small? We are hosting a small gathering for Thanksgiving and a much larger one for Christmas Eve – I am SO anxious to get this done and have a fresh new space for everyone to celebrate in!
I love your kitchen redo! What is the paint color that you used on your cabinets? I hate to ask again if you’ve answered it but I am new homeowner. I absolutely hate my counter-tops but you’ve inspired me to paint them. 😀
Hello Dy! I will check the paint color for ya asap! I am not ignoring ya 🙂 just have to find the can!
xoxo abby
I would love to know the color you painted your lower cabinets and walls as well. Also, does she show you different techniques to achieve different looks on the DVD included with the kit?
Hi Abby! We just bought a 70’s style colonial that needs some updating & love. The owners “updated” the kitchen but they are 77 so it’s not at all our style. I want to paint the cabinets white or grey but my husband is unsure of the time commitment. How long and how intensive was the process of painting your cabinets? Thanks! Love the blog!
Hi Jackie! I remember you 🙂 Time commitment is a weekend on and off. We used two 8 ft tables to lay the cabinets down on, starting face down so the back side is up. (All hardware off as well) Painted the back side 3 – 4 times, giving a few hours in between each coat. Flipped once all coats were completed and did the same for the front side. So that if any imperfections happen, they are on the back! Taking apart the cabinets and putting them on takes a bit of time few hours max. And the painting, although repetitive is actually simple! Be sure if you are not sanding them (we skipped that part) make sure to wash them down w a paint primer Home Depot gave us a great product to use! Honestly, it was the best decision we made. We were not ready to dump a ton of money into our dream kitchen when we have little ones — so this was the best and easiest option with a HUGE impact!
xoxo abby
Thank you so much! 🙂 Hopefully, I can convince him! We have a toddler now and will adding to our family so we aren’t interested in spending on a dream kitchen right now either. We both love your blog, projects and ideas! It’s amazing how dramatically life can change with just a few years and little ones.