This is sponsored post with Wayfair. Thank you for supporting The Thome Home and helping us bring out the best in our blog!
When I received an email from my lovely ladies at Wayfair, I knew the second I read the first few lines I had to try to get into this sponsored post. “Battle of the pies” if you will, or a fun virtual bake off where a select group of Wayfair homemakers will blog about their favorite pies. Funny thing is, as much as I love a delicious slice of pie, I have never made pie dough from scratch- so I knew this was going to be the perfect challenge for me!
Chicken pot pie was the first pie that popped to mind to bake when responding to the email. I am sure I could have listed 100 other sweet pies for my Wayfair folks to assign me, but with this pregnancy, all I want is savory all day everyday – thankfully, they allowed me to do my own twist!
A chicken pot pie, with a sharp cheddar crust was the pie to be baked. And, oh boy did I do that pie justice!
Why oh why do people who make pie make it sound like perfecting a pie crust is the trickiest technique in the books?? Folks I did mine with a bowl, two folks, my god given fingers and the correct ingredients and BAM — flaky, golden pie crust from heaven.
Let’s start with how I went about making this dish. It is a process, I started the entire deal at 1:00 and we ate at 5:00. Of course I had breaks in between, but chicken pot pie is a dish that needs a lot of loving and I promise you this one in particular is worth every second of a lazy sunday afternoon!
This recipe is to make TWO pies. Both with a double crust. So, cut it in half if you are wanting to make just one. Honestly, if you’re going to take the time to whip it up, there is nothing better than having one to toss into the freezer, which is why you always see me doubling my recipes!
First – the pie crust.
- 5 cups unbleaced all purpose flour
- 2 tsp salt
- 2 tablespoons sugar
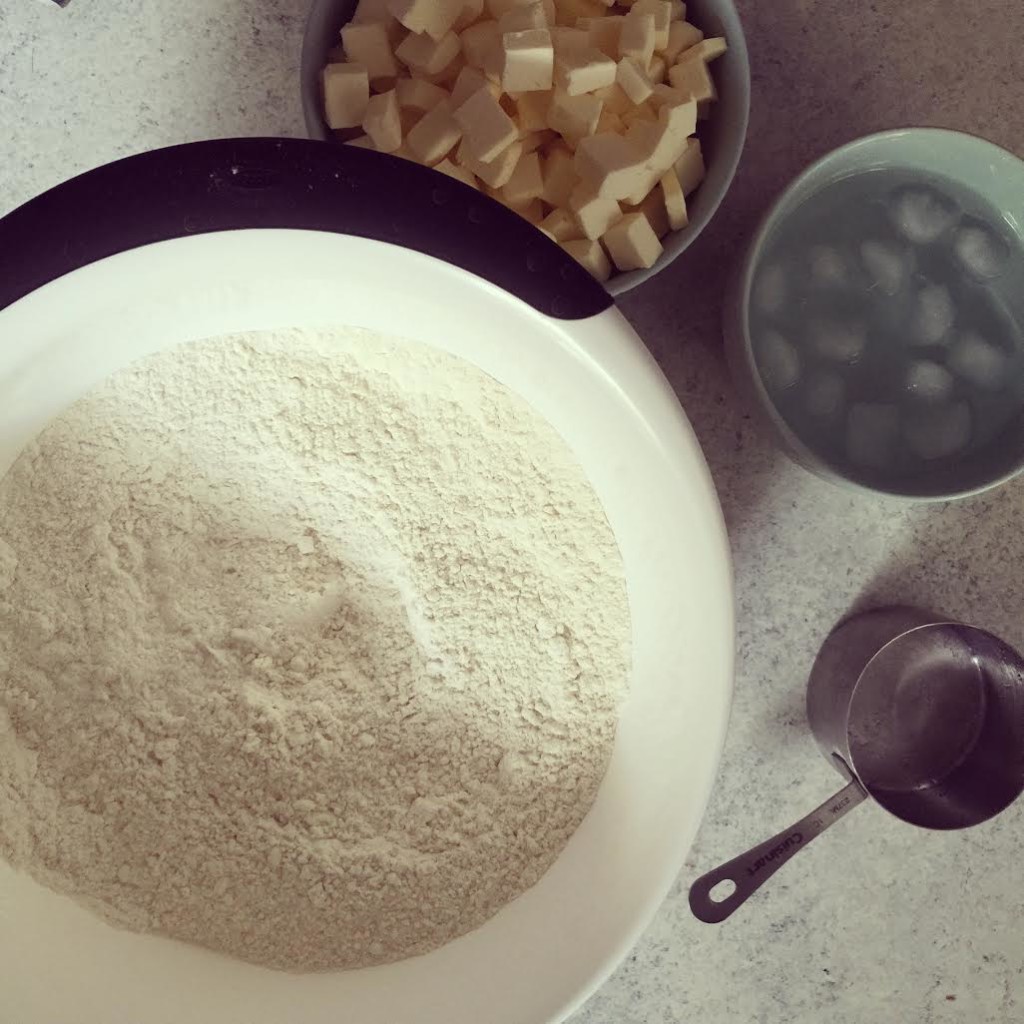
- 4 sticks of unsalted butter – cubed and chilled in the freezer
- 2 cups ice cold water (plus more if needed)
- 1 8oz block of sharp cheddar cheese grated
- This is a DOUBLE recipe, for a DOUBLE crust. So, feel free to cut this recipe in half to end up with 1 perfect pair of pie crusts for a top and bottom dish.
- First, whisk together the flour, salt and sugar.
- Secondly, add your cubed butter that has been chilling in the freezer for 30 minutes.
- With a pastry cutter, or two forks, mix the butter into the flour until the butter resembles the size of peas and the flour is just barely, if at all incorporated.
- Pour in 1 cup of the iced cold water, and stir together with a spatula.
- Add an additional cup of ice water, the pie crust should come together a bit more.
- I used an additional 1/2 cup of ice water for my dough
- Once the water was in, stir in the grated sharp cheddar cheese
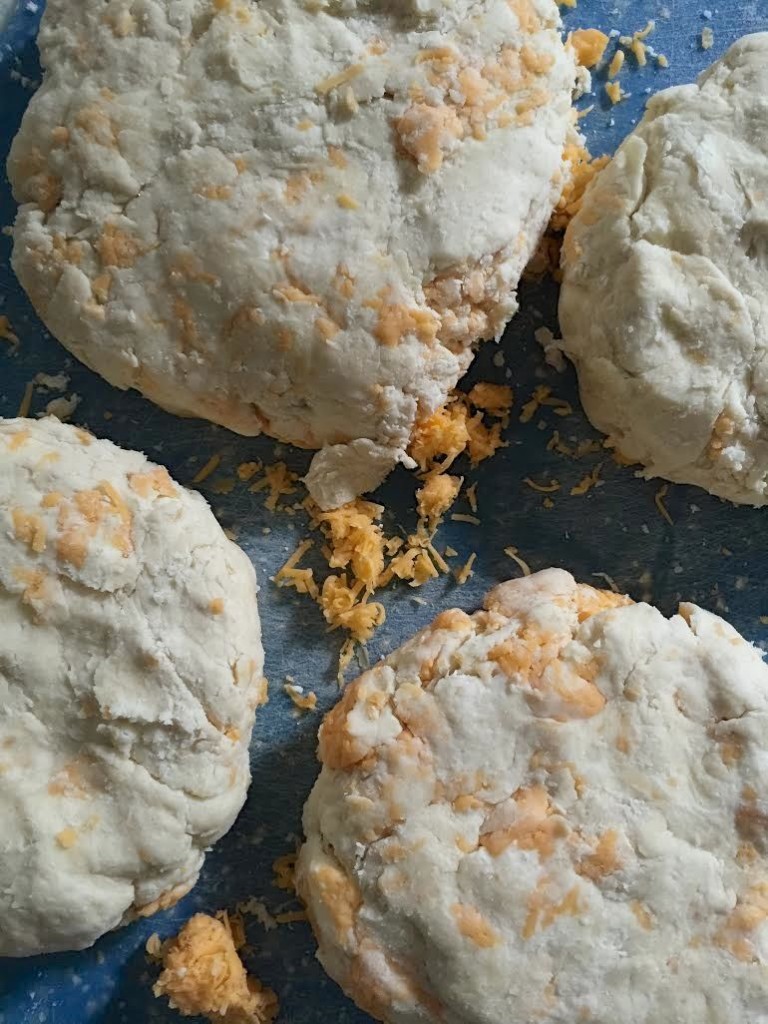
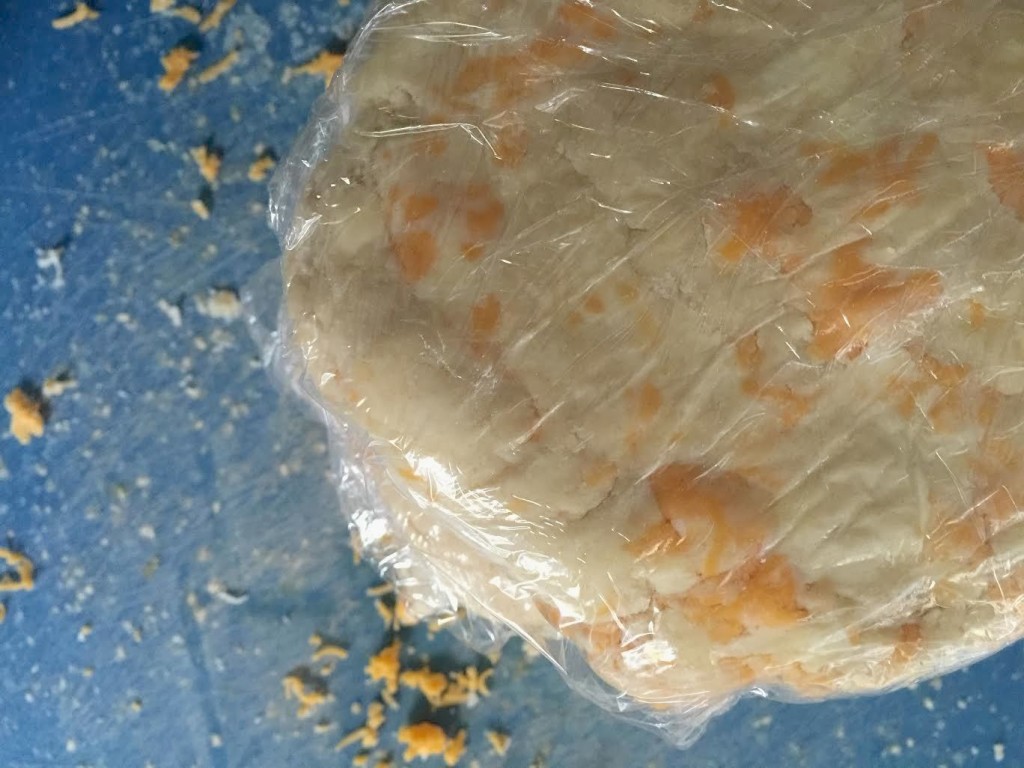
- Knead the dough with your hands until a nice big ball forms, do not over mix, it still will be a bit crumbly in areas.
- Form 4 even balls, flatten into disks, and wrap with clear wrap.
- Set in the fridge to chill for 1 – 2 hours until you are ready to roll
Whew, okay do not let the pie crust intimidate you. I’m begging you — I told Dan at dinner that it is almost a joke how fearful I was of making crust. I am now a firm believer in pie crust making, even more, adding unexpected flavors to my crust has left me addicted to this process.
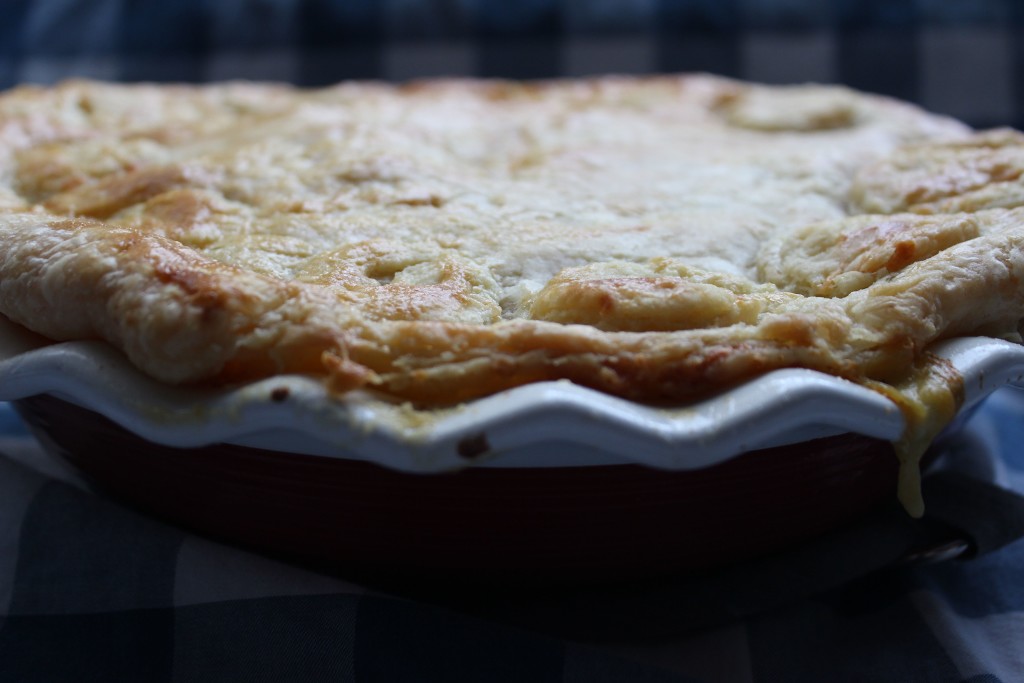
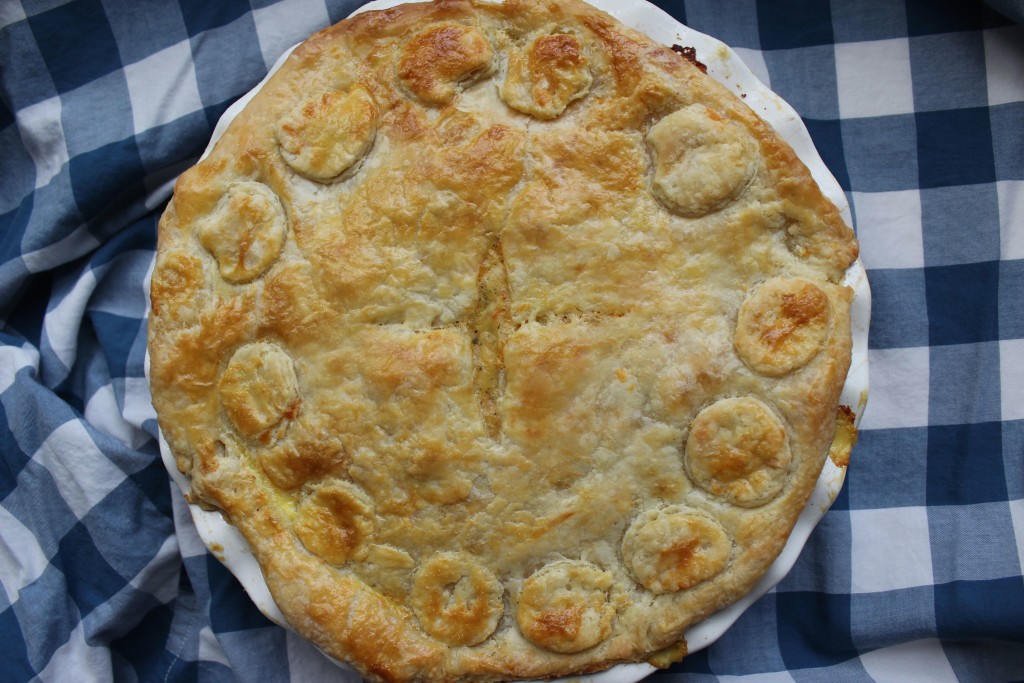
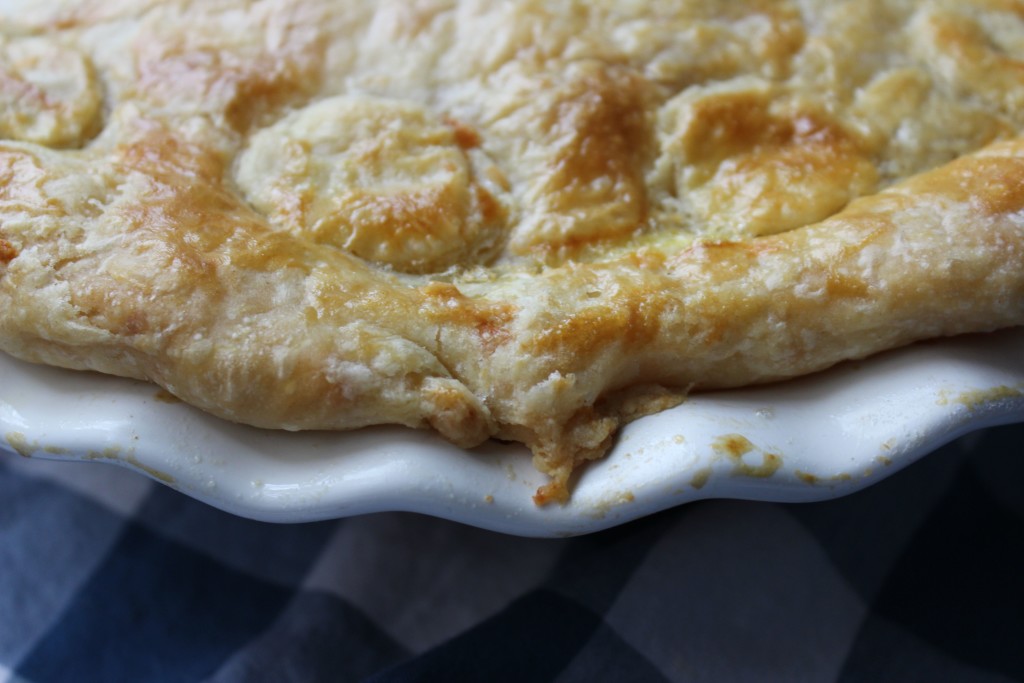
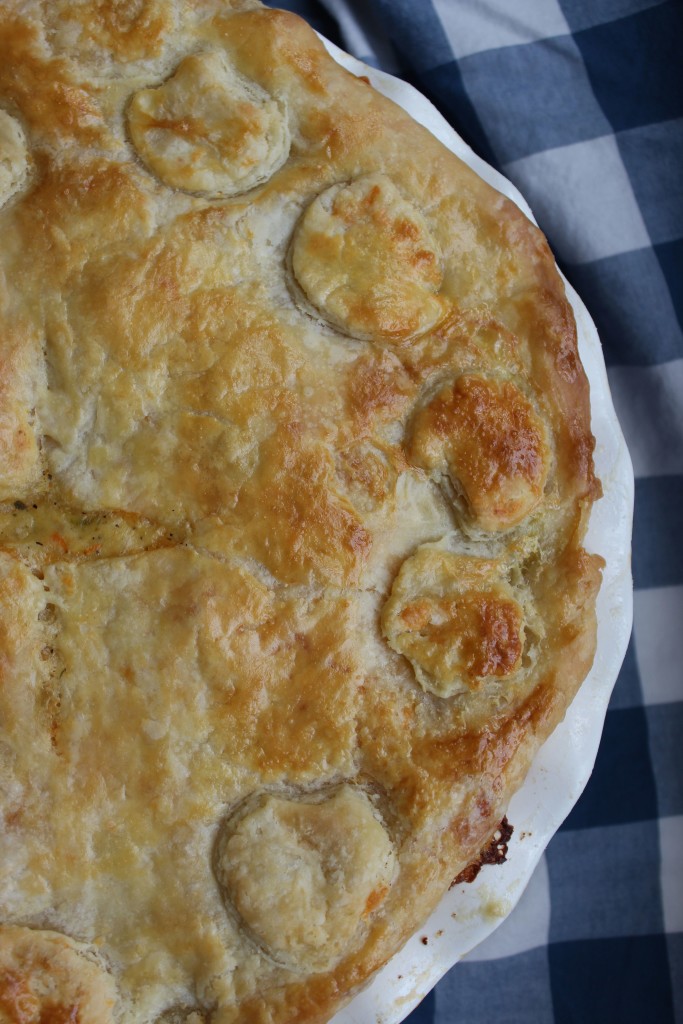
An all butter crust is the way to go. Forget about the lard or shortening (eh, the thought of those ingredients just makes me gag). Use the real deal, ice cold water, freezing cold butter, you’re all good. Oh, and the sharp cheddar added in at the end just made this crust out of this world. It added the tangiest depth to this flaky dough, helping it crisp up and have a gorgeous golden hue.
Now, onto the filling! I was spooning this into my pregnant face while stirring it. I seriously could not help but pat myself on my back! It is amazing how cooking a dish can bring you right back to your childhood – I am so grateful to have a mom that always had a huge passion for cooking, because it spread right through me too. Hence, my 10+ paragraphs talking about chicken pot pie …. you can stop me if you’d like, but look at this baby …..
Ingredients:
Roast 1 head of garlic in the oven – cut the top off, sprinkle with EVOO salt and pepper. Wrap it up with foil, place it cut side down, and bake for 40 minutes. Set aside.
4 roasted chicken breasts. Seasoned with extra virgin olive oil, salt, pepper and a pinch of herbs de provence. Baked at 375* for 25 minutes
6 large carrots, chopped. 6 stalks of celery, chopped. 2 onions, chopped. 3 potatoes, peeled and chopped.
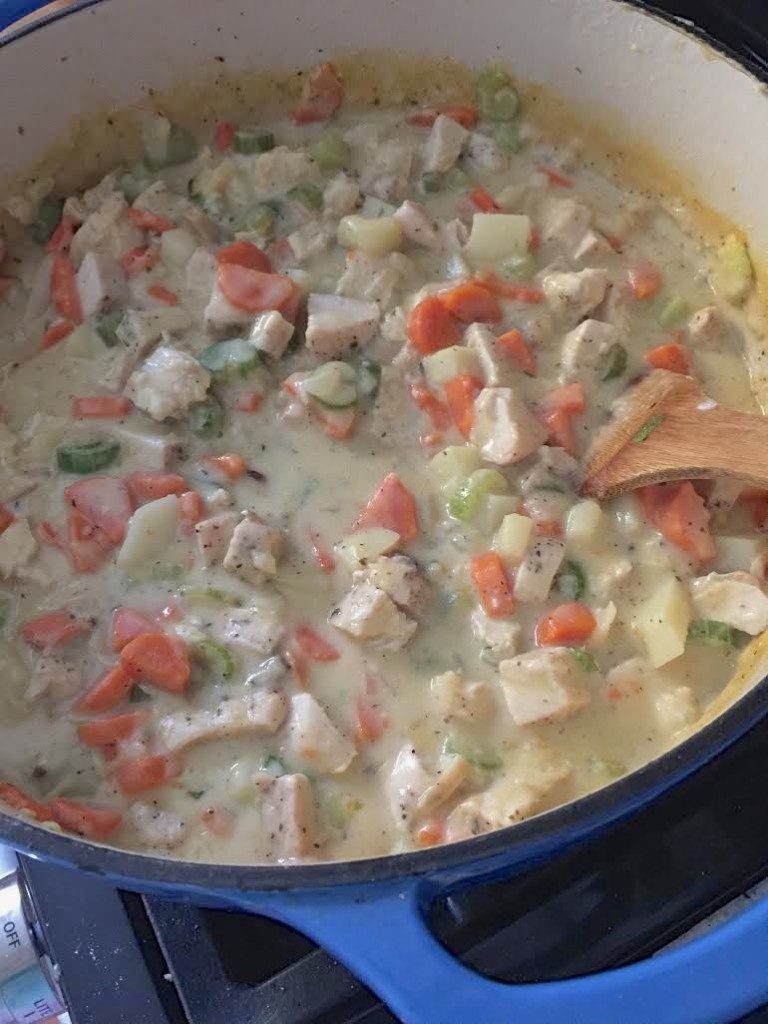
In a dutch oven, on medium-high heat, saute the veggies with a few tablespoons of extra virgin olive oil, salt and pepper, and a dash of herbs de provence. For about 10-15 minutes until the veggies begin to tenderize. Next, add 1/3 cup flour, simply sprinkle it across the veggies and toss in 3 pats of butter. This provides the base for what will thicken your chicken stock + milk. Stir in 1 cup half and half + 4 cups chicken stock. Toss in 1 boullion cube for an old school punch of flavor you just cant mimic. Squeeze out all of the roasted garlic bulbs into the filling as well. By now, your mouth will be watering.
Let the mixture come up to a boil, and reduce the heat to medium – low until the sauce has thickened like a gravy. Turn off the heat – and get ready to start your pie crust and get this beauty assembled.
Now for the assembly!
Roll out TWO of your pie crusts — Placing one in the bottom of your pie pan, poking holes with a fork in the bottom. Bake it at 375* for 8-10 minutes until barely golden.
Once the bottom crust has baked, take a handy dandy scoop and add as much filling as you’d like – I added about 4-5 cups to my pie pan (I like my pies plump). Take the other rolled out pie dough and place it on top, crimping the edges.
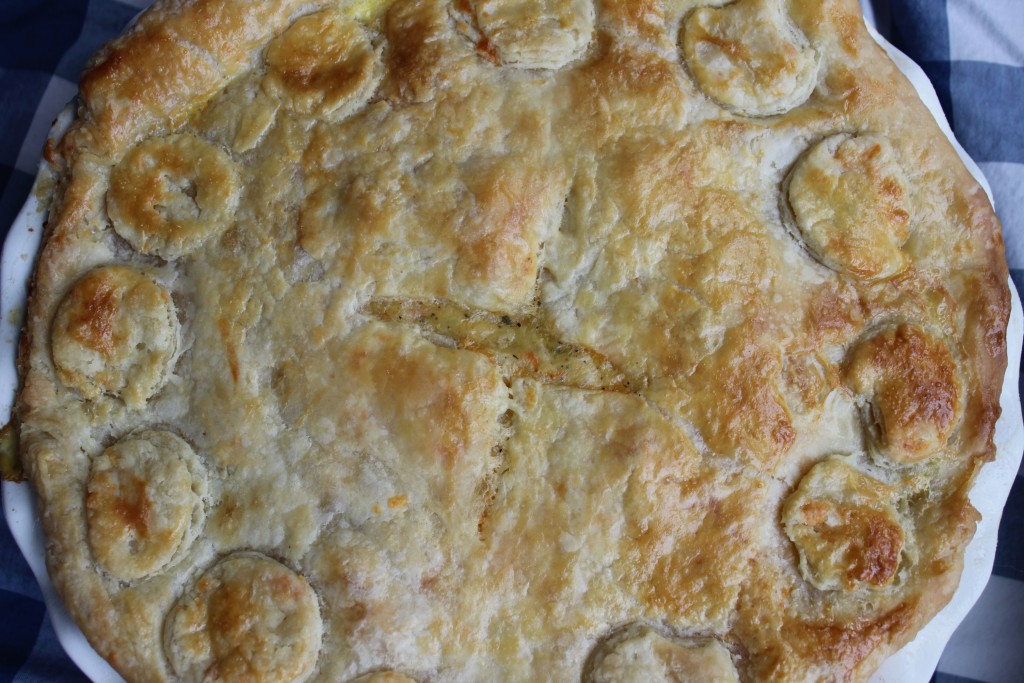
Last but not least, whisk an egg and brush the entire top with it to ensure a golden crust. Cut a slit or two in the top for ventilation and bake at 375* for 30 minutes, or until the crust is golden.
If you’d like to make the second pie, do the exact same steps and bake away. I saved my pie dough + cooled filling for the next day, in the fridge, to be assembled, baked and cooled – to be put in the freezer for a chilly winter day when I am craving this dish again.
Let cool for 15-20 minutes before slicing and serving, that is, if you can wait that long 🙂
I am so happy I took the pie crust plunge and just did it. I panicked hours before, wondering if I should run and grab a food processor (how a lot of cooks show it on t.v.) … honestly, just following the directions and using exactly what is called for is all you need to be on your way to a delicious pie crust.
This sharp cheddar pie crust would be amazing for an apple pie, a quiche, or even twisted into ropes and baked for dipping into soups this fall. Either way you have it, make this chicken pot pie and it is sure to turn into a family favorite!
I make chicken pot pie all the time, but I’ve never had a cheddar cheese crust. That sounds amazing!
Oh Beth it was out of this world!! I will never again make chicken pot pie without this crust, thanks for stopping by my blog!
xoxo abby